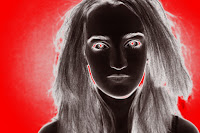
Before I produced video footage, I've edited some photographs that I wanted to use for the trailer as special effects. This large image on the left side was going to be used as a split second scene inspired by another psychological trailer called "The Silence of The Lambs" that used the same effect. I made the image look scary by enhancing some colours in Photoshop using the filter gallery and "Vibrance & Saturation" in the Adjustment settings, but before that I've made the original photograph of more visually appealing by enhancing "Brightness and Contrast".After that step, I've made two versions of the same image, both including the colour red because this colour connotes to blood, death and passion, a bold colour with strong meaning. The image that has a red face, I've made it even more 'demonic' by filling in the eyes using black; another dangerous looking colour. I've used these two images in my trailer during the kitchen and the knife scene to add more suspence.
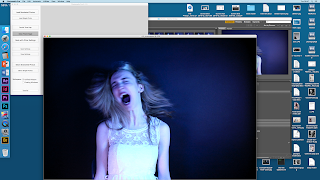 The second step was to edit other photographs I wanted to use for the trailer, in this case the 'stop motion' shot. I've took continous photographs while the actor was shouting inspired from a YouTube music video called "My OCD". After taking the photographs, I've processed them on 'Photomatix' using the HDR options in order to bring out the white dress and darken the backround.
 After I got my first footage to work on, with limited resources - I've implemented chosen videos to work on while I wait for another film shoot. I've edited some footage on Adobe InDesign by adding filters, choosing the presets or moving the colour sliders. In this particular example, I am encoding the video footage of the forest scene I ended up not using because I believe that it didn't quite flow with the rest of the trailer.
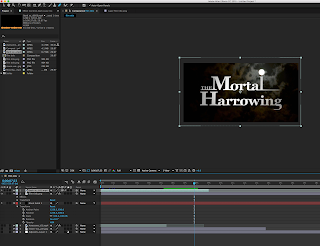
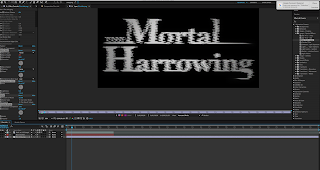
While waiting for additional footage, I've decided to work on the title and text. There was quite a lot of process and time put into the effects as I wanted it to look professional and fit my theme simultaniously. I've re-used the font I made for my magazine as it's original and links back to my trailer. I had an idea to use a fast forward video of clouds in my trailer, but later decided to combine it with the text making it look scarier. In order to save more time, I've used a pre exsisting footage of night clouds (from YouTube), set it on 'Multiply' (overlay mode) and placed it under the text layer (which was saved as a PNG as I needed the background to be transparrent).
Then, I added an additional effect in the presets (using a programme called "Adobe After Effects") which was an old television effect fitting with the overall aesthetic of the trailer. I've used the same process with the text "This Autumn" but used a different cloud video and a different TV effect in the Presets. I placed both texts near the end of the trailer.
I also added a 'Cartoon' Filter over the background video to give it an interesting style and added another colour changing effect making the shot a lot more eye catching and easy to remember.
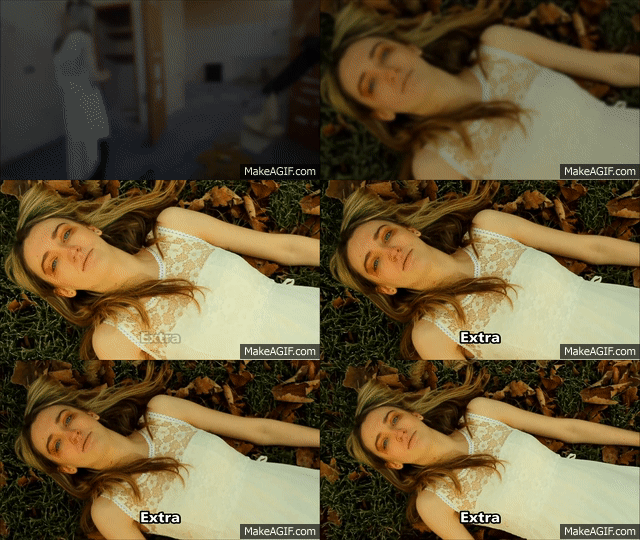
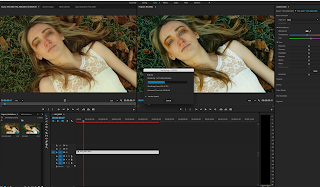 Some shots that I've filmed needed to be more smooth, such as the shot of the protagonist laying on the grass. The camera was handheld therefore there was a lot of camera shake. To fix that problem I used a Stabilizer option in in Adobe Premiere Pro. In order to add an additional (a more pessimistic and mysterious) mood, I've edited the colours of this particular shot in the programme. I've made the colours a lot 'colder' giving the audience an uneasy mood.
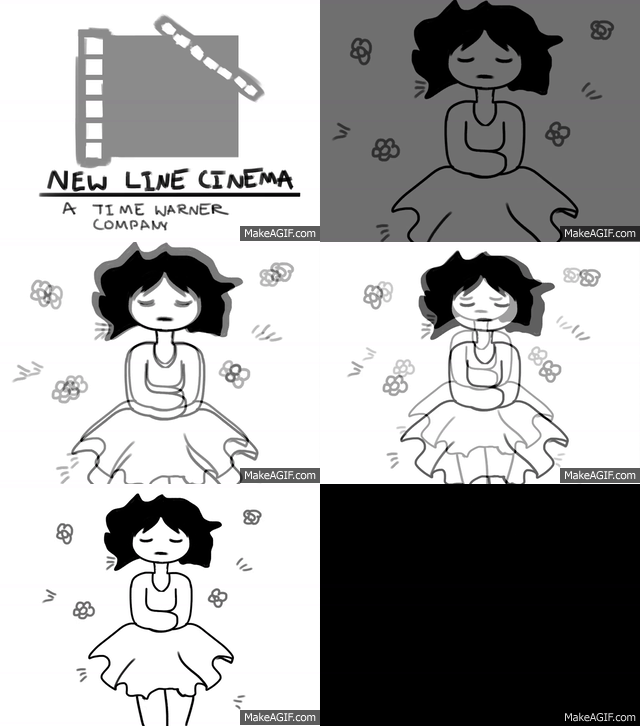
Additionally, I tried to follow my story board as closely as possibly. For this shot, the idea was exactly the same but I've decided to keep her eyes open and changed the composition by placing the camera closer to her as it makes her appear more personal with the audience by exchanging eye contact. Not to mention, since it was autumn (fitting well with my genre and theme) I've decided that my cast member should lay on the ground surrounded by dead leaves instead of blooming flowers. I've achieved the 'zoom out' effect without using any additional equipment.
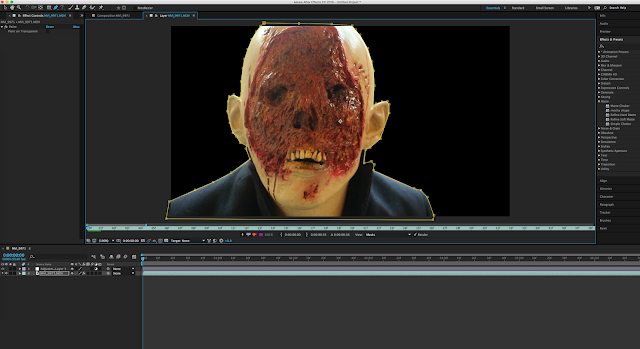
While working on my video, I wanted my last scene to appear more terrifying but the background was too light. Therefore I tried masking out the background on a programme called Adobe InDesign by outlining the monster with a lasso tool, inverting the selection and darkening it. However, this idea did not work because there was too much movement from the monster and I didn't want a still image as my last scene, therefore I blurred the selection meaning that there were't harsh edges successfully making the background darker and keeping the movement. Finally, I adjusted the colours for this scene making the reds stand out and increasing the contrast.
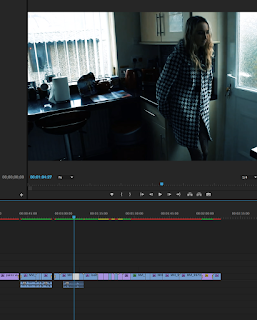
After editing almost ever shot separately, I've combined them in Adobe Premiere Pro as seen on the left hand side. Most sound was removed because I wanted the trailer to be mostly narration and music. However there is some dialogue to give some ideas to the audience.
Before the trailer started, I implemented Warner Brothers and New Line Cinema by downloading the company introductions clearly showing the audience that the trailer is associated with these companies.
Sound
The bass was produced with Polivoks VST. That was send through a compression channel to compress low, middle and high frequencies eventually producing the "White Noise". In parallel, there was the same Polivoks bass line that went through EQ and compression. Low frequencies were high passed to let 'Sine Waves' travel their distance without any interruption whatsoever. Additional sound was recorded in real life using instruments. Then, I've added effects to that recorded sound and sat through hours of sessions. All of that recorded sound was used.
The process of the soundtrack will be shown in this video;


